Community Library
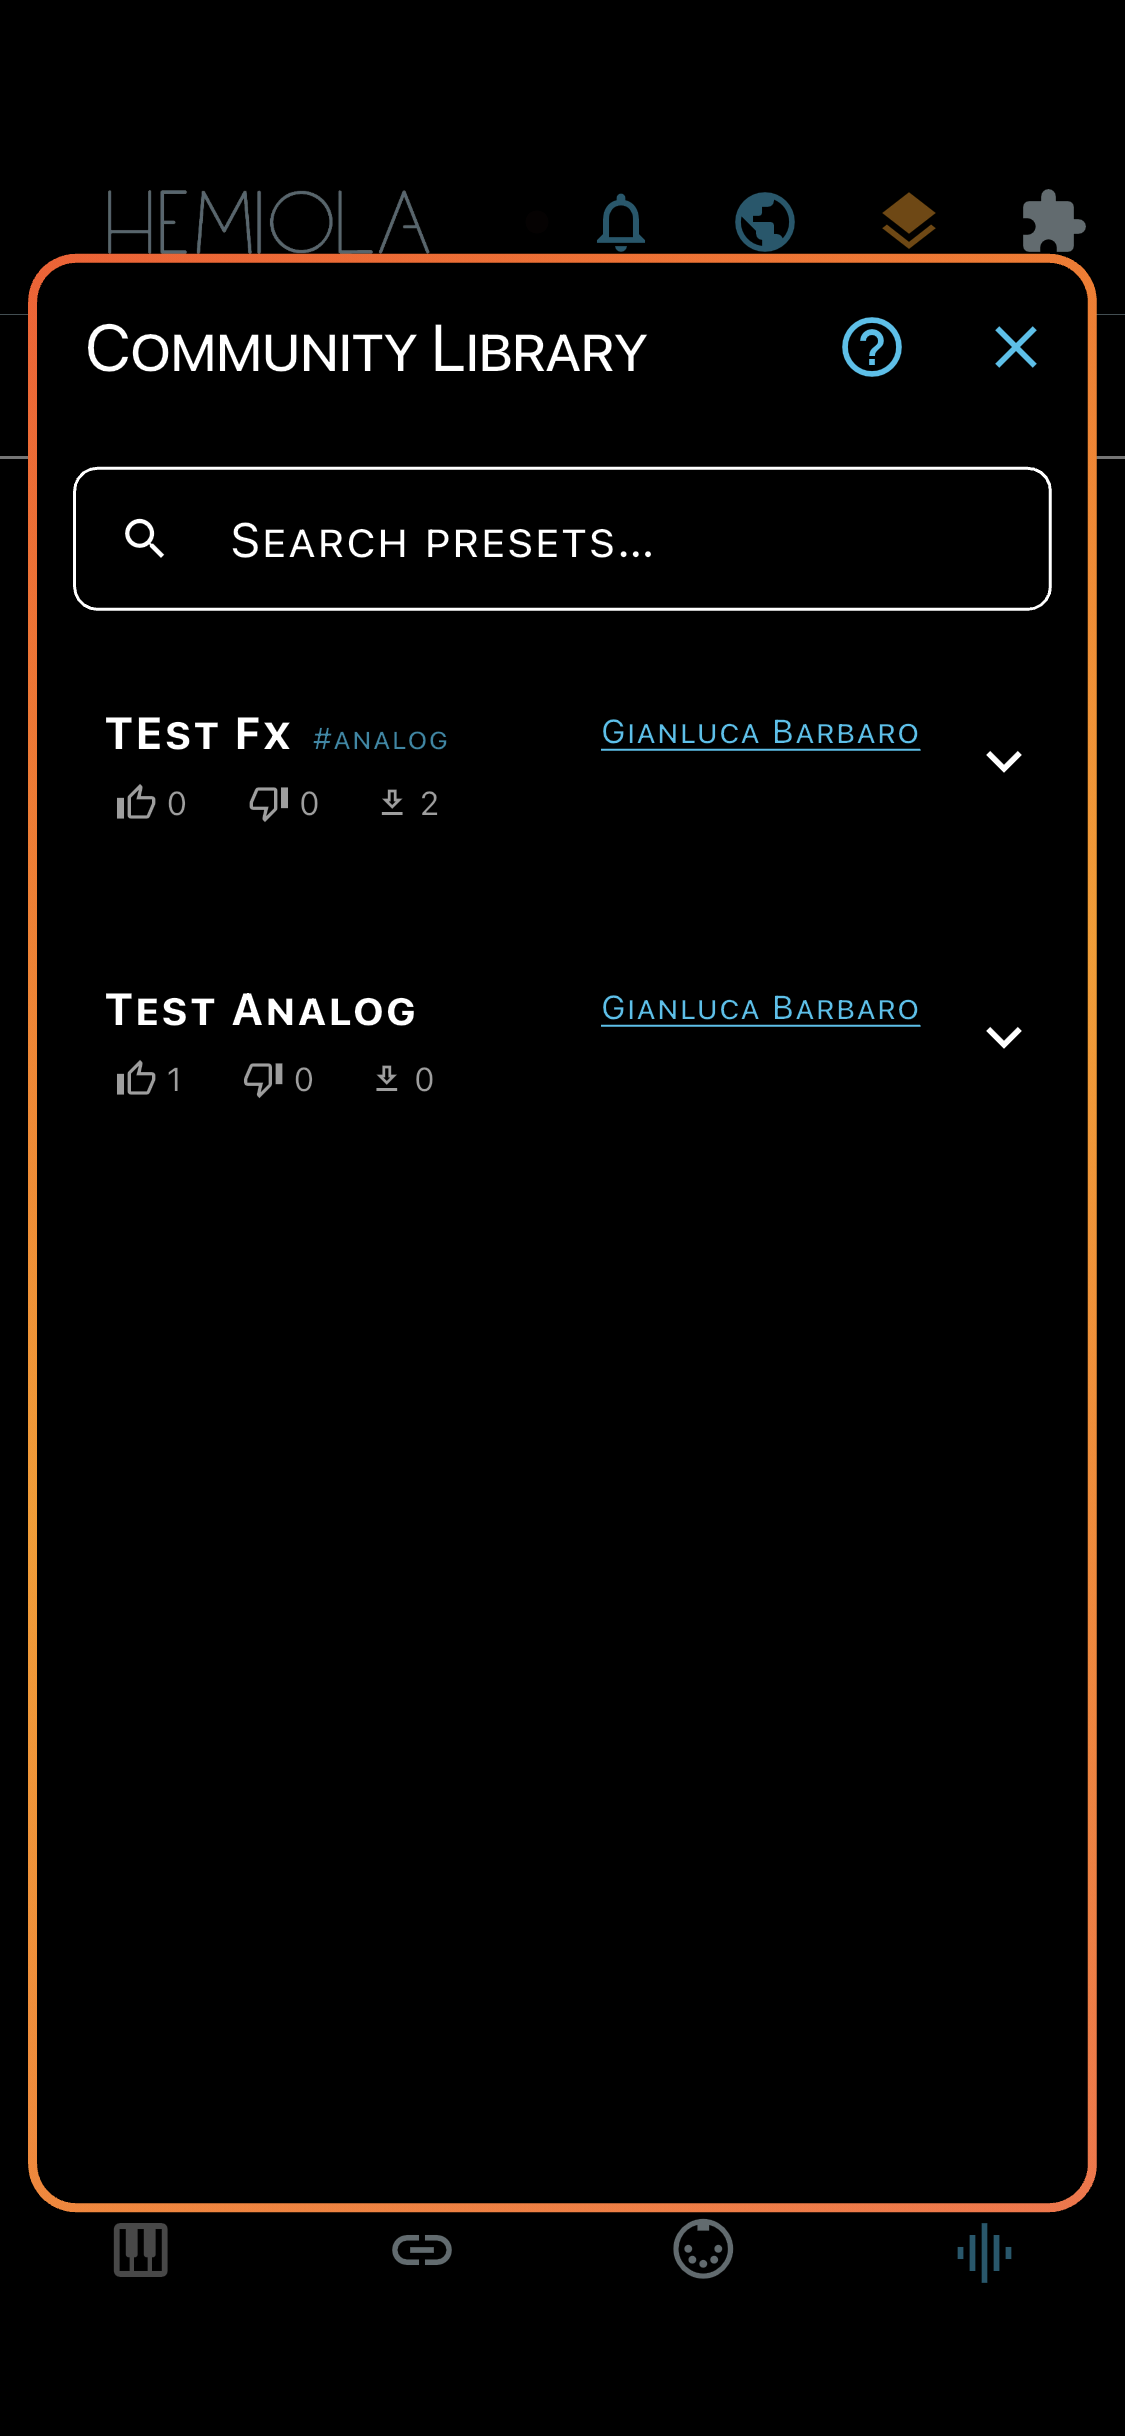
The Community Library is a shared collection of presets published by Hemiola users. Open it from the cloud icon in the app bar. It is available to everyone — no subscription needed to browse and apply presets.
Browsing
- Type in the search bar to filter presets by name or hashtag in real time
- Scroll down to load more presets automatically (infinite scroll); pull to refresh the list
- Each card shows the preset name, hashtags, author name, vote counts, and download count. Tap the card to expand it and see the full description, section chips, and action buttons
- Tap the author name to view their profile (avatar, display name, username, bio)
Applying a preset
Apply is free and available to all users. It loads the preset values live without saving them locally — perfect for quick auditioning.
- Tap Apply on any card to apply the preset immediately. If you have unsaved local changes, a dialog asks whether to save first or apply anyway
- Device settings embedded in a preset are not applied in this version; a notice is shown when a preset contains them
Importing a preset
Import saves the preset as a named local entry in your library, so you can switch back to it any time — just like a locally created preset. Requires a Cloud Pro or Premium subscription, or the Hemiola Pro in-app purchase.
- Tap Import, choose a name (pre-filled with the preset name), and confirm
- The imported preset is added to every relevant section (Analog, FX tiers, MIDI Mapper) that it contains
Last Used panel
The last preset you applied or imported is pinned at the bottom of the screen for quick re-apply and voting.
- Tap the play button to re-apply the preset without scrolling back to it
- Tap the download button to import it (requires subscription)
- Use the thumbs-up / thumbs-down buttons to vote. Tapping the same vote again removes it. Voting requires a cloud account but not a paid subscription
Publishing your presets
Share your own sounds with the community. Requires a Cloud Pro or Premium subscription.
- Open the Preset dialog for any supported section and tap Publish…
- Choose which sections to include (Analog, FX tiers, MIDI Mapper, Device), give the preset a name and optional description, and add hashtags to help others find it
- Your published presets appear in the Shared Presets tab of the Cloud Account dialog, where you can edit, hide, or delete them
Enable Public Profile (Profile tab in Cloud Account) to make your presets visible to the community. Presets that are marked public but whose author profile is not public show a warning icon.